Accessing and Upgrading Your CCTV Camera
Whether you’re setting up your CCTV system for the first time or maintaining your existing cameras, knowing how to access your camera’s default IP address and upgrade its firmware is crucial for ensuring smooth operation and keeping your system up to date. These tasks might seem tricky at first, but they’re easier than you think when you break them down into simple steps. In this guide, we’ll walk you through how to open your camera’s default IP address in a web browser and upgrade its firmware, all while providing helpful tips along the way.
Accessing Your CCTV Camera via the Default IP Address
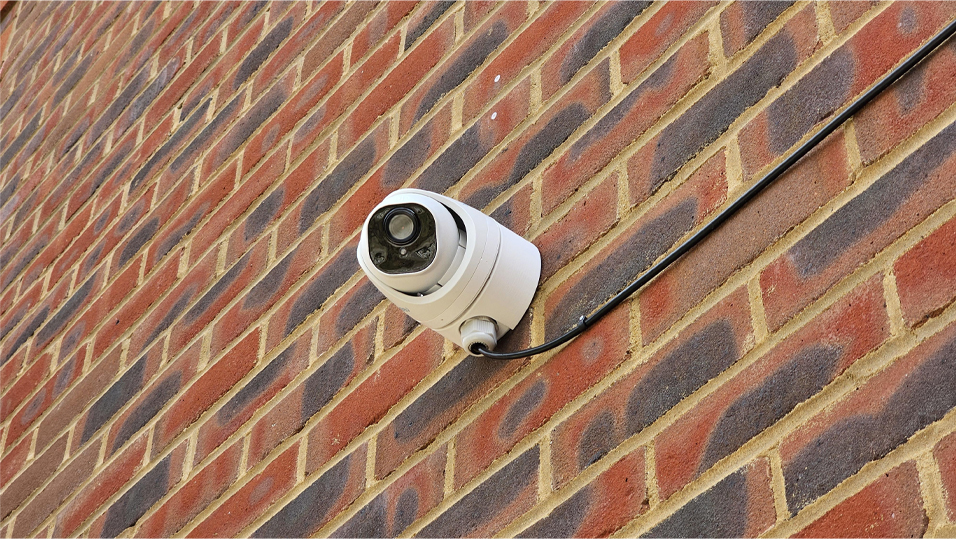
When you first set up your CCTV camera, especially one that operates in DHCP mode (Dynamic Host Configuration Protocol), it will automatically obtain an IP address from your router. However, if there’s no router in the local network, the camera will default to the IP address 192.168.0.123.
- Why It’s Important to Access the IP Address:
Accessing the default IP address is essential for configuring your camera settings, such as adjusting its field of view, changing the resolution, setting motion detection zones, and even upgrading the firmware. But before you can begin managing your camera, you need to locate it on your network. - Step-by-Step Guide to Access the Default IP Address:
- Step 1: Ensure your camera is powered on and properly connected to your network. If you’re using DHCP mode, the camera should automatically receive an IP address from your router. If not, or if there’s no router, the camera will be set to 192.168.0.123.
- Step 2: Open a web browser (Chrome, Firefox, Safari, etc.) on your PC or Mac.
- Step 3: Type 192.168.0.123 in the address bar and press Enter. This should bring up the camera’s login page.
- Step 4: Enter the default username and password (usually found in your camera’s manual or on the manufacturer’s website) to log into the camera’s web interface.
- Troubleshooting Tips:
If the camera page doesn’t load, ensure that the camera and your device are connected to the same local network. You can also use an IP search tool to locate the camera’s address if the default one doesn’t work.
Using the IP Search Tool to Find Your Camera’s IP Address
If your camera is set to DHCP mode and you don’t have the camera’s IP address, don’t worry. An IP search tool can easily find the camera on your network.
- What is an IP Search Tool?
An IP search tool scans your network and detects connected devices, including your CCTV camera. It’s a simple software that can help you pinpoint the exact IP address, making it much easier to access your camera’s settings through a web browser. - Steps to Use the IP Search Tool:
- Step 1: Download and install the IP search tool provided by your camera’s manufacturer (often available on their resources or support page).
- Step 2: Run the tool and allow it to scan your network for connected devices.
- Step 3: Once the scan is complete, the tool will display a list of connected devices along with their IP addresses. Find your camera’s IP address in the list.
- Step 4: Use this IP address in your web browser to access the camera’s login page.
- Why It’s Helpful:
Using an IP search tool is especially useful if you’re unsure about which IP address your camera has received, particularly in larger or more complex network setups.
Upgrading Your Camera’s Firmware for Better Performance
Firmware upgrades are essential for keeping your camera’s software up to date, which can enhance functionality, fix bugs, and improve security. After accessing your camera’s web interface, upgrading the firmware is an easy but important next step.
- Why Firmware Upgrades Matter:
Much like updating apps on your phone, firmware updates improve the performance and security of your CCTV camera. Manufacturers regularly release updates to enhance features, fix known bugs, and provide better network compatibility. - How to Upgrade Your Camera’s Firmware:
- Step 1: Navigate to the camera’s configuration settings. You’ll typically find a section labeled “System” or “Settings.”
- Step 2: Look for the “Firmware Update” or “System Update” option.
- Step 3: Visit the manufacturer’s resources or support page to download the latest firmware for your camera model. Be sure to download the correct firmware version to avoid compatibility issues.
- Step 4: Once the firmware file is downloaded, return to the camera’s web interface. Click the “Browse” button to locate the firmware file on your computer, and then click “Upgrade.”
- Step 5: Wait for the camera to update. Do not turn off the camera or disconnect it from the network during this process.
- Tips for a Successful Firmware Upgrade:
- Always back up your camera’s current settings before upgrading.
- Ensure the camera remains powered on throughout the upgrade process.
- If an upgrade fails, try restarting your camera and attempting the update again.
Two Essential Tasks that Ensure Your System Functions Securely
While the process may seem intimidating at first, with the right tools and guidance, it becomes a straightforward task. By using IP search tools and upgrading firmware regularly, you’ll keep your CCTV system running smoothly, providing you with optimal security and peace of mind. TrueCCTV is here to help you every step of the way—whether it’s troubleshooting, firmware upgrades, or advice on network configuration, we’re ready to support your CCTV needs.